Repotting your Rubber plant or Rubber tree? How can you tell when it’s time to repot your Rubber plant? Here I’ll show you step by step how to repot your Rubber Plant and how to tell when it’s time to repot your rubber plant. Also, it doesn’t matter what type of Rubber plant you have- the variegated type or the not- the same rules apply when it comes to repotting Rubber plants.
Below is my Repotting Rubber Plant video. It’s a step-by-step video showing how I repotted my variegated Rubber Plant.
When to Repot your Rubber Plant?
Before we get into how to repot your Rubber Plant. Let’s first go over how to tell when to repot your Rubber plant. There are 3 things to check for as you decide whether or not to repot your Rubber Plant.
1. Check for signs that your Rubber Plant has outgrown its current pot
If you see the roots coming through the drainage holes of your rubber plant. This is a sign that your rubber plant has outgrown its current pot.
2. Rubber plant is not growing bigger
If you want your Rubber Plant to grow bigger, you should repot your Rubber Plant in a larger pot. A pot that is too small can stunt the growth of your Rubber Plant. Replant it in a larger pot and it will grow bigger. And alternatively, if you think your Rubber Plant has reached its optimal size, then you should stop repotting.
3. Repot your Rubber Plant if it keeps Toppling Over
Rubber tree are big indoor plants. It’s time to repot your Rubber plant if your current pot is not heavy enough and your rubber plant is prone to toppling over. You should repot your Rubber Plant to a heavier pot so it will be more stable and not topple over.
Do you need to repot new Rubber Plant?
Newly purchased Rubber Plants do not need to be replanted immediately unless it is in a pot that has no drainage holes. Check the bottom of the pot of your new Rubber plant. Are there drainage holes? Make sure you double-check that there is no grow pot underneath with drainage holes. If there are no drainage holes, then you should repot your new Rubber plant. You don’t want your Rubber plant to sit in soggy soil, it might get root rot which is fatal for your Rubber plant.
Another reason why you should repot your new Rubber plant is if it is showing signs that it is outgrowing its current pot. If you see roots coming out of the drainage holes, then it may be time to repot.
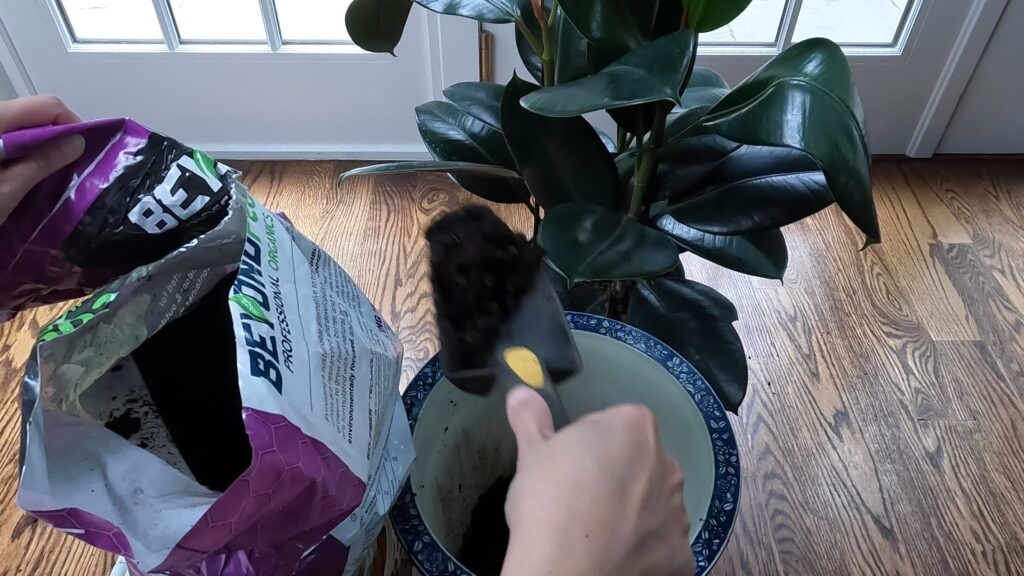
What Soil Should You Use for Repotting Rubber Plant?
When repotting rubber plants, use well-draining, organic, all-purpose potting soil. Only buy organic soil mix because the fertilizer is not as concentrated in organic soil. Non-organic soil should really only be used for outdoor plants.
What Size Pot Should You Repot your Rubber Plant in?
Repot your Rubber Plant in a pot that is 3-4 inches larger than its current pot. Make sure you pick a pot with drainage holes. Also, if you have a large Rubber plant, make sure your new pot is heavy enough so it doesn’t topple over.
How to Repot your Rubber Plant?
Step 1: Water the Rubber Plant before repotting
Water the Rubber Plant you will be repotting 1-2 days before repotting your Rubber plant. The moist soil will help make it easier to repot.
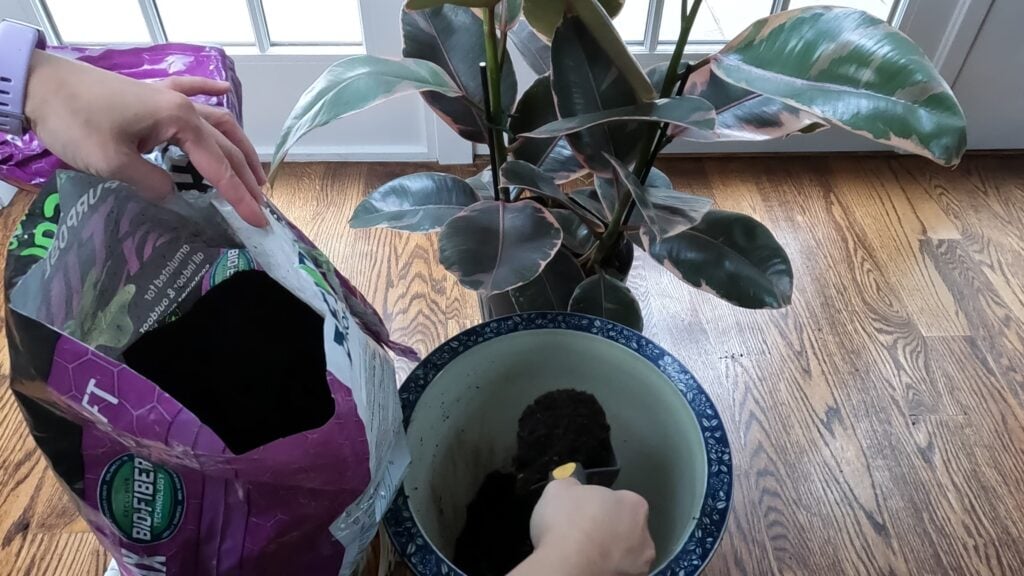
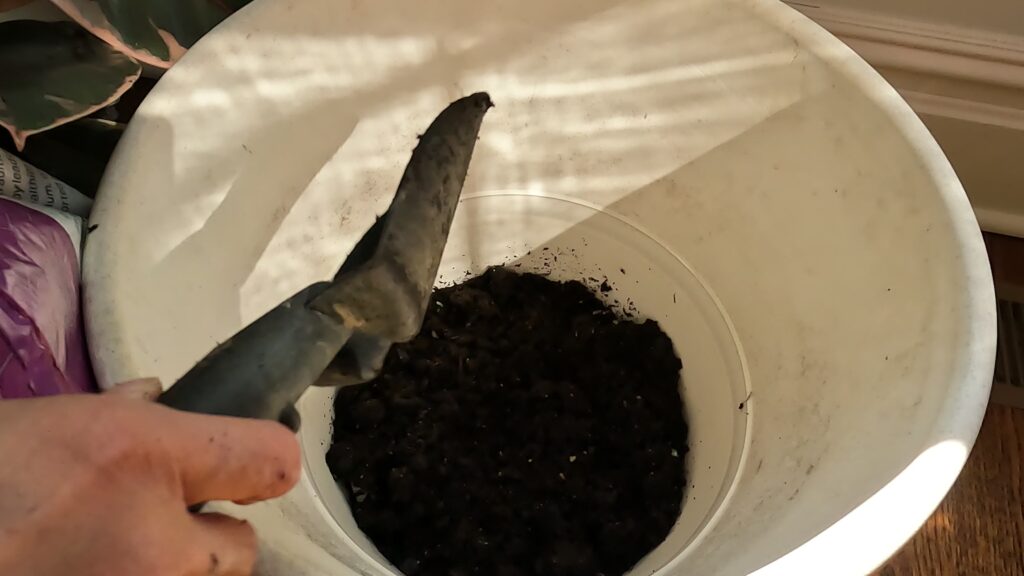
Step 2: Fill the Bottom of the New Pot with an Organic Potting Mix
Add a layer of organic potting mix to the bottom of the new pot. Make sure you crumble any soil that is in big clumps.
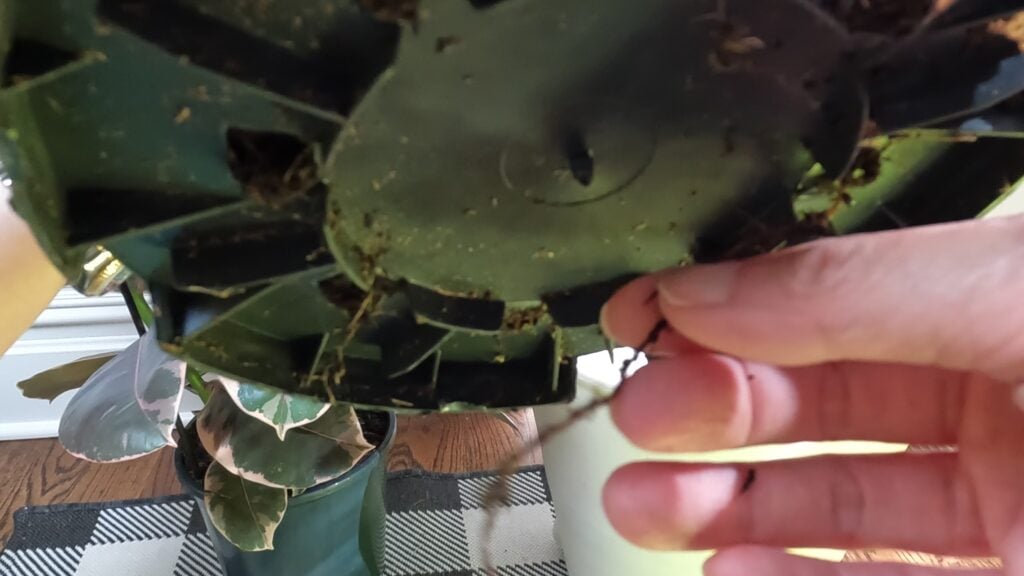
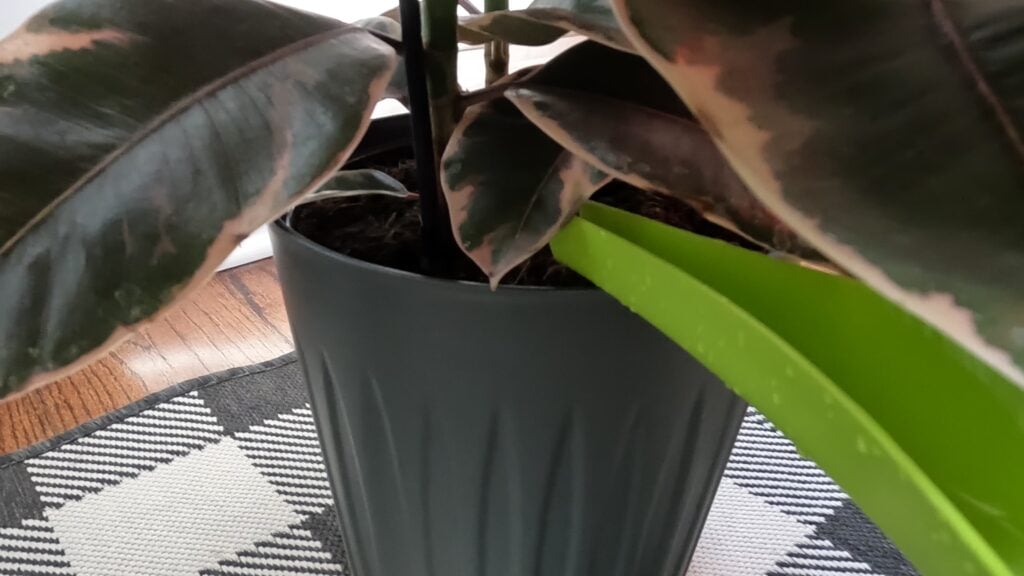
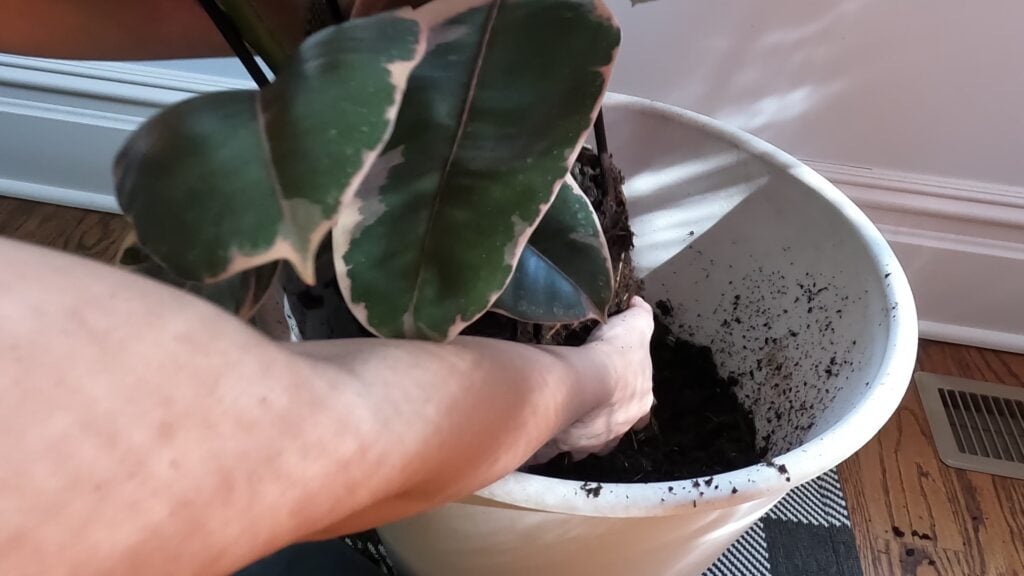
Step 3: Remove the Rubber Plant from its current pot
This is the hardest part of repotting rubber plants- removing the rubber plant from its current pot! If you are struggling to remove the Rubber plant from its current pot, you can use a butter knife along the edge to help you but be careful with the roots. Try squeezing the pot or shaking it out first before using a knife.
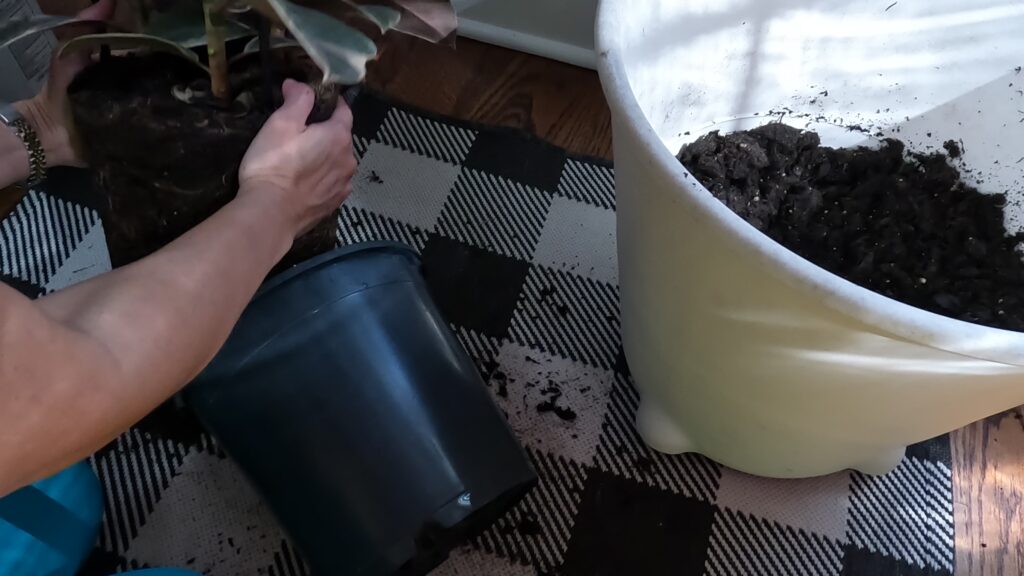
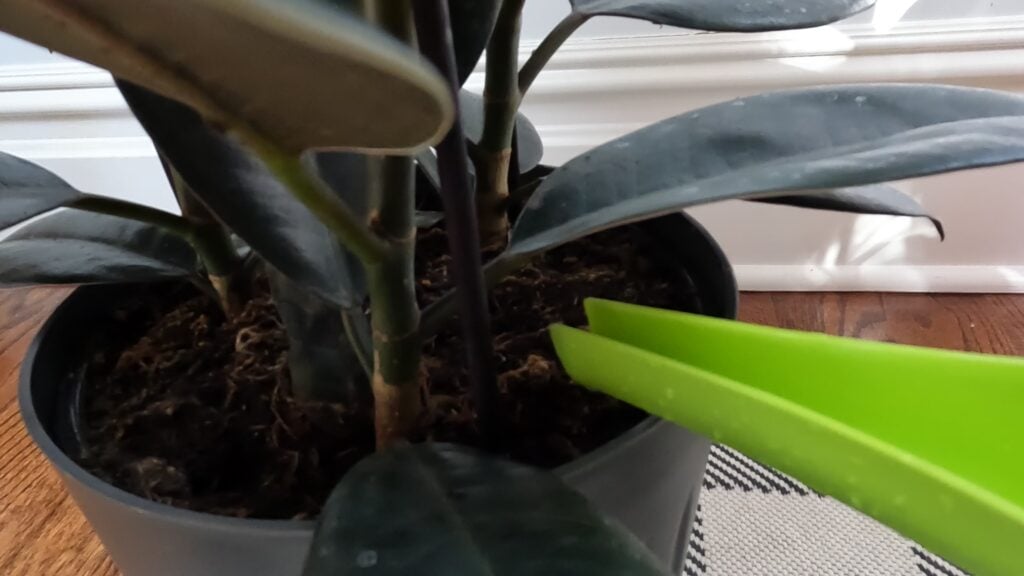
Step 4: Massage the soil to loosen the roots before planting Rubber plant
After you remove the Rubber Plant from its pot. Gently massage the soil to loosen the roots. Loosening the roots will help your Rubber Tree establish roots in the new pot.
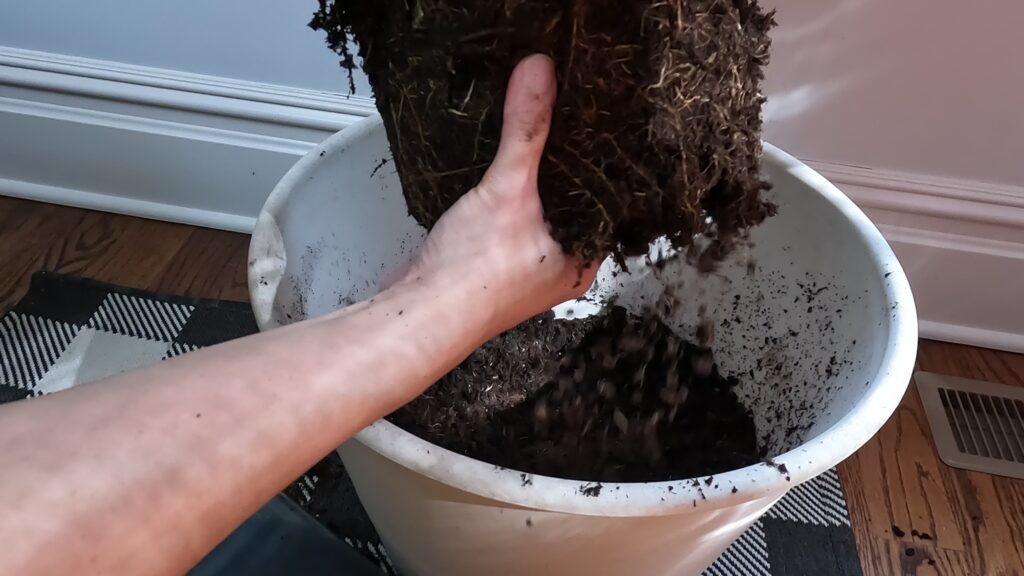
Step 5: Plant Rubber Plant in New Pot
Center the Rubber Tree in the new pot then fill the side with potting mix. Don’t fill it to the top, leave an inch from the rim of the pot.
Step 6: Water Rubber Plant after repotting
Water your new Rubber Tree thoroughly. Then move it to the same spot that it is used to in your home.
A Word of Caution about the Rubber Plant Milky Sap
Rubber Plant will ooze out white milky sap when you cut the leaves or if there are any cuts and openings. This milky sap can be toxic and irritating to the skin. So be careful when handling Rubber tree, you may want to wear gardening gloves.
Check out my other houseplants repotting guides: How to Repot Monstera deliciosa