

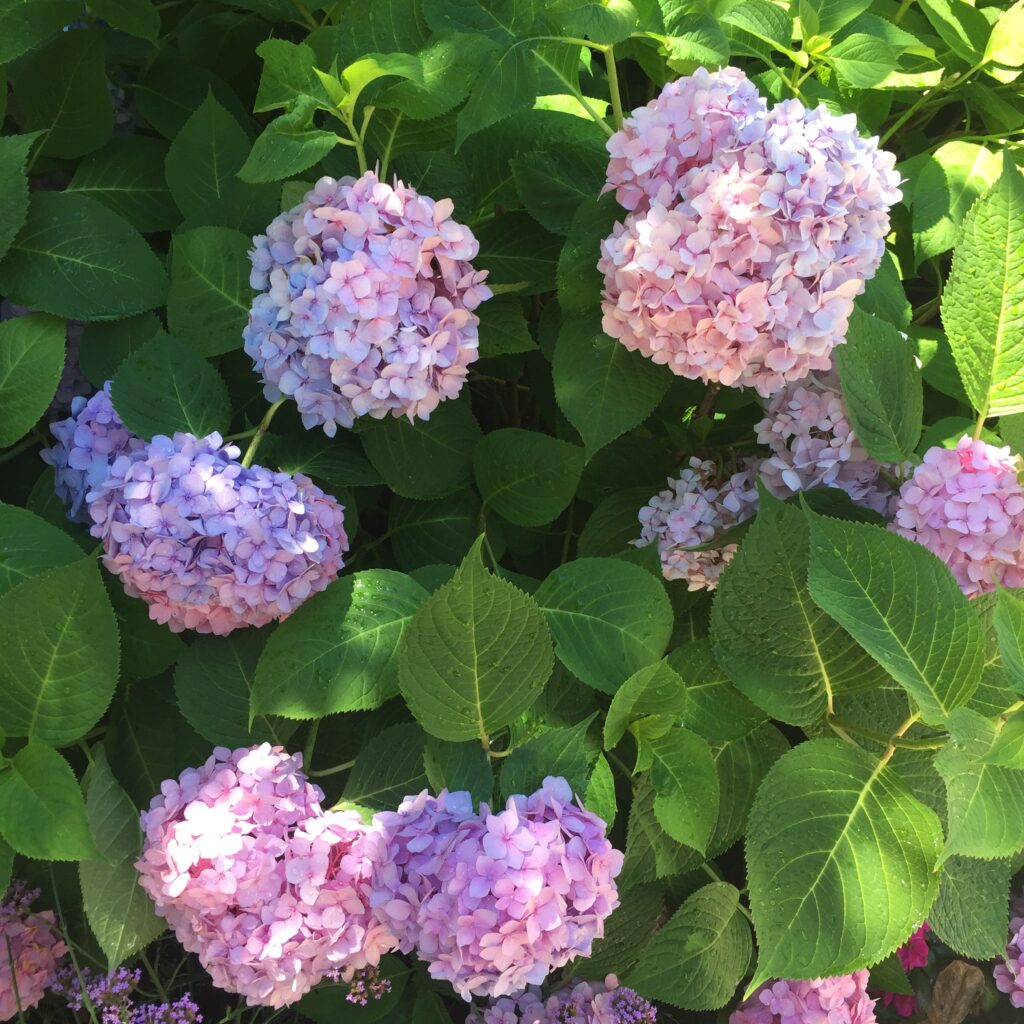
Are you wondering if you can transplant your hydrangea in the winter? I remember the first time I transplanted my hydrangea in my garden during winter. I wasn’t sure if it would work! Thankfully the hydrangea transplant thrived and bloomed beautifully the following spring.
So, can you transplant your hydrangea during winter? The short answer is yes, you can transplant hydrangea in the winter!
As long as the ground isn’t frozen, transplanting in the winter is possible.
However, it is important to do it right when you transplant your hydrangea in the wintertime to make sure you are successful with your transplant.
Here is a step-by-step guide to transplanting your hydrangea during winter.
How to Transplant Your Hydrangea in the Winter
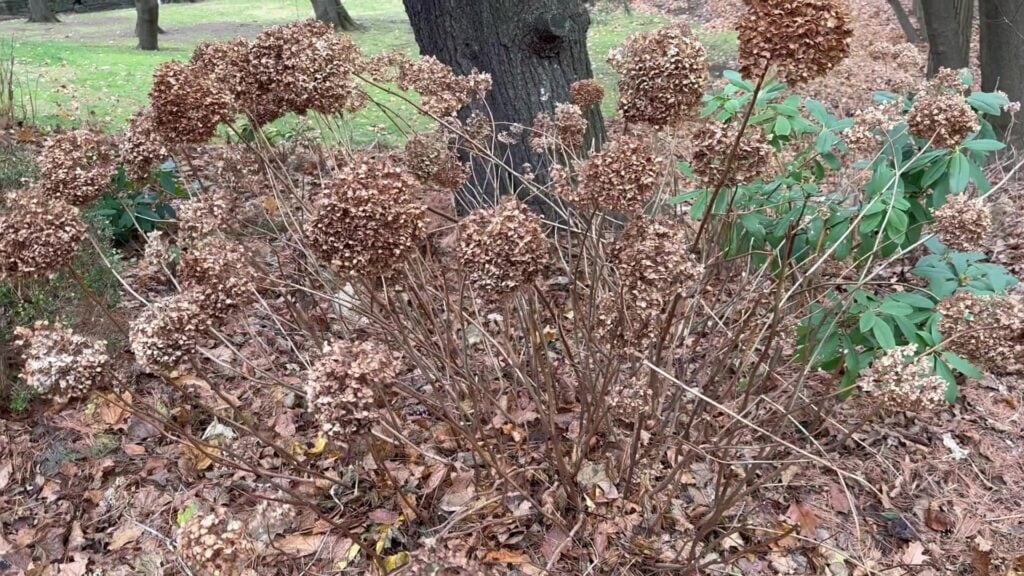
Step 1: Make Sure the Ground is Not Frozen
Winter is not the ideal time for transplanting hydrangeas, but it is possible to transplant your hydrangea as long as the ground is not frozen and the temperature is mild.
When you transplant your hydrangea during winter, choose a day when the ground is not frozen and temperatures are above freezing.
Step 2: Prepare the New Planting Site
Before digging up your hydrangea, prepare the new planting site. Choose a location with well-draining soil and adequate sunlight (partial shade to full sun, depending on the variety).
Dig a hole that is deep and wide enough to fit the roots after you fan them out. This will help the roots establish themselves in their new environment.
Tip: Amend the soil in the planting hole with organic matter, such as compost or well-rotted manure, to improve soil fertility and drainage.
Step 3: Dig Up the Hydrangea
Depending on the size of your hydrangea shrub, you may need a large shovel or a hand-held spade.
Carefully dig a trench around the hydrangea, about 6-12 inches away from the base of the plant. This will help preserve as much of the root system as possible.
Gently dig under the root ball, taking care not to damage the roots, and lift the plant out of the ground. You will probably need another person to help you if your hydrangea shrub is big.
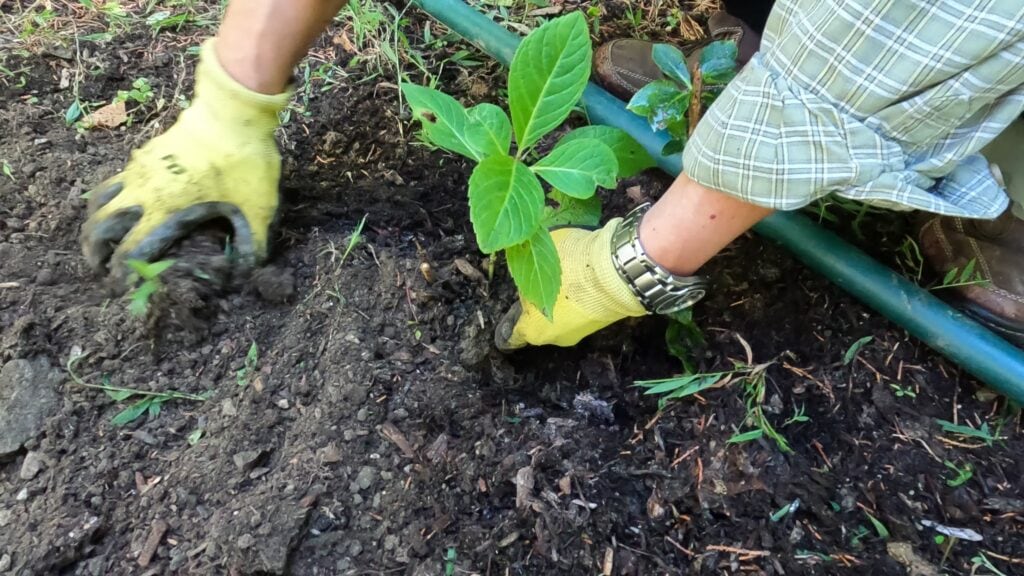
Step 4: Plant the Hydrangea in Its New Location
Enlist the help of another person. Place the hydrangea in the hole. As much as possible, fan out the roots.
Have the other person hold the hydrangea in place while you fill the hole with soil around the roots.
Make sure the hydrangea shrub is planted at the same depth as it was before. Water the hydrangea thoroughly to help settle the soil and encourage new root growth.
Step 5: Mulch and Protect
Apply a 2-3 inch layer of organic mulch, such as wood chips or shredded bark, around the base of the hydrangea to help conserve moisture and insulate the roots from temperature fluctuations.

Step 6: Monitor and Care for Your Transplanted Hydrangea
Keep an eye on your newly transplanted hydrangea throughout the winter, and water it as needed if the soil becomes dry.
Transplanting your hydrangea during winter is possible as long as you do it when the ground is not frozen and the temperature is above freezing.
By following these steps, you can ensure your hydrangea has the best chance of thriving in its new location. Good Luck with your new transplant!
Get Your FREE Hydrangea Care Tracker Printable

Sign up once and you will get access to ALL exclusive content on this website. After unlocking the printable, just save the printable image and then print it. Use it to keep track of your hydrangea care! I hope you like it!
You May Also be Interested in these Hydrangea Care Tips
Step by Step: How to Easily Propagate Hydrangeas (video)
How to Deadhead Hydrangeas (video)
How to Make Hydrangeas Flower (video)
Beginner’s Guide: How to Care for your Hydrangea (video)
Can I Transplant Hydrangeas in the Summer?