
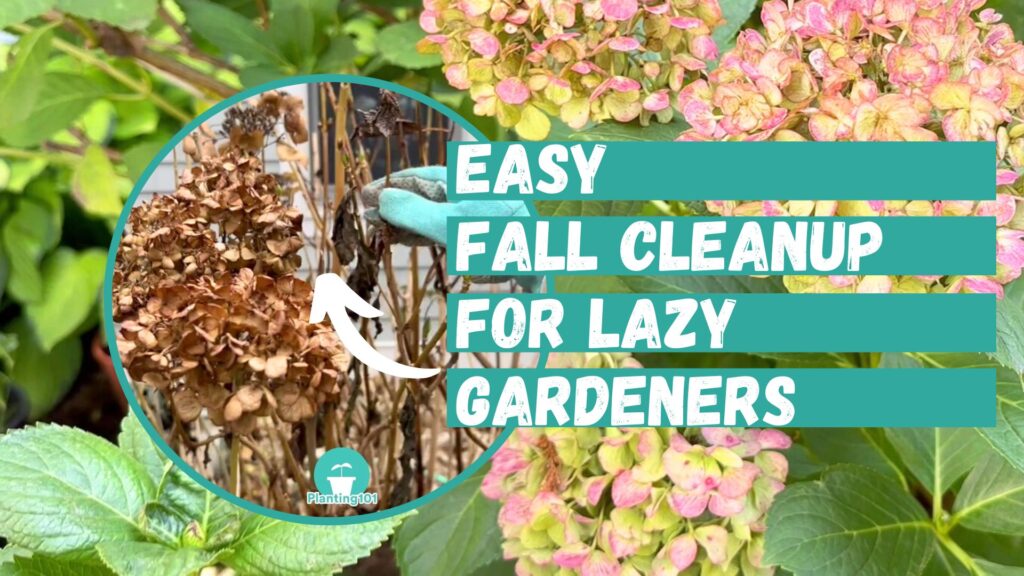
Fall is here, and that means it’s time to get your hydrangeas ready for winter—but I have to be honest, I’m a lazy gardener, and I don’t do a lot of complicated tasks. That’s why today I’m sharing my Lazy Gardener’s Guide to Hydrangea Fall Care.
I’ll show you the simple, low-maintenance steps that really matter: when to stop fertilizing, how to do fall clean up, and how often to water in the Fall. Whether you’re in a colder zone or somewhere warmer, I’ve got zone-by-zone tips.
Things to Do in the Fall: Hydrangeas
Stop Fertilizing
The first thing to do in the fall is to stop fertilizing your hydrangeas. In fact, you should stop feeding them starting in mid-August and, of course, throughout the fall.

This is especially important for hydrangeas that grow their flower buds on old wood, like bigleaf hydrangeas. The last thing you want is for the fertilizer to stimulate new buds, and if you continue fertilizing too late, any tender shoots that develop too late in the season can be damaged by winter, which means fewer flowers next year.
Also, too much fertilizer can actually backfire. It may give you lush, leafy growth, but at the expense of blooms, leaving your plant with fewer flowers the following season.
That’s why I personally fertilize my hydrangeas only once a year, in the spring, after the last frost, when new growth is just starting to sprout. Since I’m in zone 7, coastal Connecticut, I typically fertilize my plants in April.

So when exactly do you need to fertilize your hydrangeas? The timing of the spring feeding depends on your zone. You want to fertilize after the last frost when new growth is just starting to sprout.
In Zones 3 to 5—places like Vermont, Michigan, and Minnesota—you should start fertilizing in mid-May to early June. In Zones 6 to 7, such as Maryland and Virginia, mid to late April is a great time to fertilize. And in Zones 8 to 9, including Texas and Florida, March is usually ideal.
During the fall, you want your hydrangea to focus on storing energy in its roots. This helps the plant survive the colder months and sets it up for stunning blooms next year.
Fall Clean Up
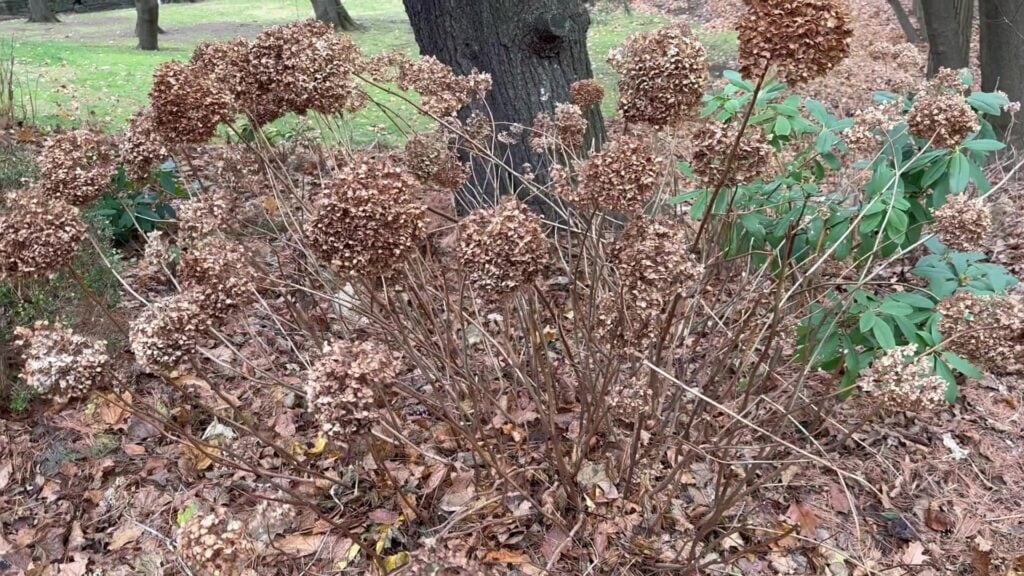
One of the reasons I love hydrangeas is that you can be a little lazy with them in the fall. Unlike many other plants, no pruning is required—all you really need to do is clean up the plant.

By fall cleanup, I mean removing any dead or damaged leaves and trimming a few spent flowers to make your hydrangea look tidy.
People always ask me about pruning and when it’s safe to do it. Pruning can actually backfire. I learned this the hard way with my bigleaf hydrangeas. One fall, I pruned them down, thinking I was helping the plant prepare for winter. But the following summer, no flowers bloomed—just leaves.
That’s because bigleaf hydrangeas, along with other hydrangeas that bloom on old wood, develop their flower buds on last year’s growth. Cutting them back in the fall removes those precious buds and reduces next year’s blooms.
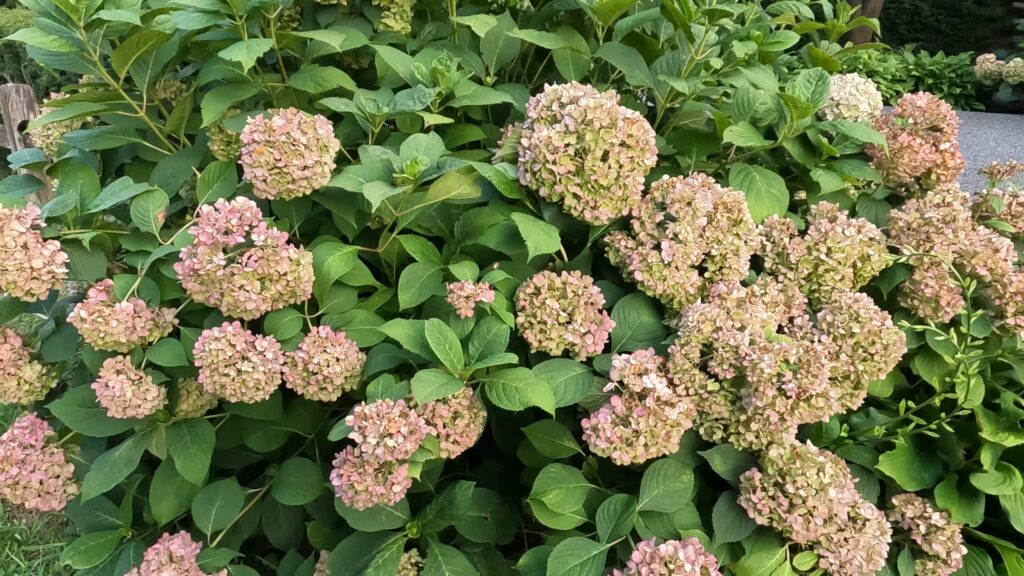
On the other hand, I also have Annabelle hydrangeas, which bloom on new wood. New wood hydrangeas can be pruned, but because I’m a little lazy, I usually don’t bother. Even without pruning, my Annabelles still flower beautifully year after year, which is one of the many reasons I love this variety.

So, if you’re wondering when the best time is for fall cleanup, I usually do mine in mid-November, which works perfectly in my zone 7, coastal Connecticut garden. For other zones, aim to clean up after the leaves have naturally died back.
In Zones 3 to 5, clean up your hydrangeas in late October to early November. In Zones 6 to 7, mid to late November is ideal.
In Zones 8 to 9, aim for early to mid-December, once the leaves have naturally died back and before any unusually cold snaps.
It’s so easy to clean up your hydrangeas in the Fall: just remove any dead or damaged leaves. You don’t even need scissors—just wear gloves and start picking off the dead leaves.
I usually leave the spent flowers because they add visual interest in the winter and look beautiful dusted with snow.
And honestly, if you’re too busy or lazy to do fall cleanup, it’s not a problem—your hydrangeas will still bloom beautifully the following year. This is truly an optional step.
Mulching
Mulching is one of the most important steps for preparing your hydrangeas for fall and winter. A good layer of mulch helps regulate soil temperature, retain moisture, and protect the roots from harsh winter conditions.
When mulching your hydrangeas, use organic materials like shredded bark, wood chips, pine needles, or compost. Apply a layer about 2 to 4 inches thick around the base of the plant, keeping the mulch a few inches away from the stems to prevent rot. The goal is to insulate the roots without suffocating them.
I usually apply mulch at the same time as my fall cleanup, so it’s just a one-time task and I get everything done at once. This makes fall hydrangea care quick, simple, and low-maintenance.
The timing of mulching depends on your zone. In Zones 3 to 5, mulch in late October to early November, after the ground has started to cool but before the first hard frost.
In Zones 6 to 7, like my coastal Connecticut garden, November is usually ideal. In Zones 8 to 9, early December generally works best.
Mulching pairs perfectly with fall cleanup. After you’ve removed dead leaves and tidied the plant, adding a fresh layer of mulch gives your hydrangeas a healthy boost heading into winter.
For newly planted hydrangeas, mulch helps retain soil moisture while roots are establishing. For established plants, it protects older roots and preserves soil warmth through cold nights.
A well-mulched hydrangea is a happy hydrangea. When spring arrives, the roots are insulated, the soil is protected, and your plants are ready to bloom beautifully.
Mulching is a simple, low-maintenance way to care for your hydrangeas in the fall.
Fall Watering Requirements
Even in the fall, hydrangeas need consistent moisture, but how much depends on the plant’s life stage.

Newly planted hydrangeas have smaller root systems and are still establishing themselves, so they require more frequent, deep watering. Water newly planted hydrangeas at least once a week, and if rainfall is limited, water more often. Make sure the water penetrates deeply to reach the roots.
For established hydrangeas, like mine in zone 7, I usually rely on rainfall and only water if it’s been dry for an extended period. These mature plants have deep, extensive root systems that can access moisture from the soil, so occasional rainfall is often enough.
However, you have to be careful about overwatering in the fall. It’s important to stop watering in the winter, so you want to know the latest safe time to water your hydrangeas, depending on your zone.
The latest time to water hydrangeas in the fall depends on your zone. In Zones 3 to 5, established hydrangeas generally don’t need additional watering if there’s sufficient rainfall. Newly planted hydrangeas in these zones should receive their last deep watering by late September.
In Zones 6 to 7, established hydrangeas only need watering during dry spells, while newly planted hydrangeas should receive their last deep watering around mid-October.
For Zones 8 to 9, established hydrangeas benefit from at least one deep watering per week if rainfall is lacking, and newly planted hydrangeas need two to three deep waterings per week. The latest time to water in these zones is mid to late November.
In all zones, once winter begins, rely mostly on rainfall. But if conditions are unusually dry in zone 9, you can water your hydrangeas.
Get Your FREE Hydrangea Care Tracker Printable

Sign up once and you will get access to ALL exclusive content on this website. After unlocking the printable, just save the printable image and then print it. Use it to keep track of your hydrangea care! I hope you like it!