
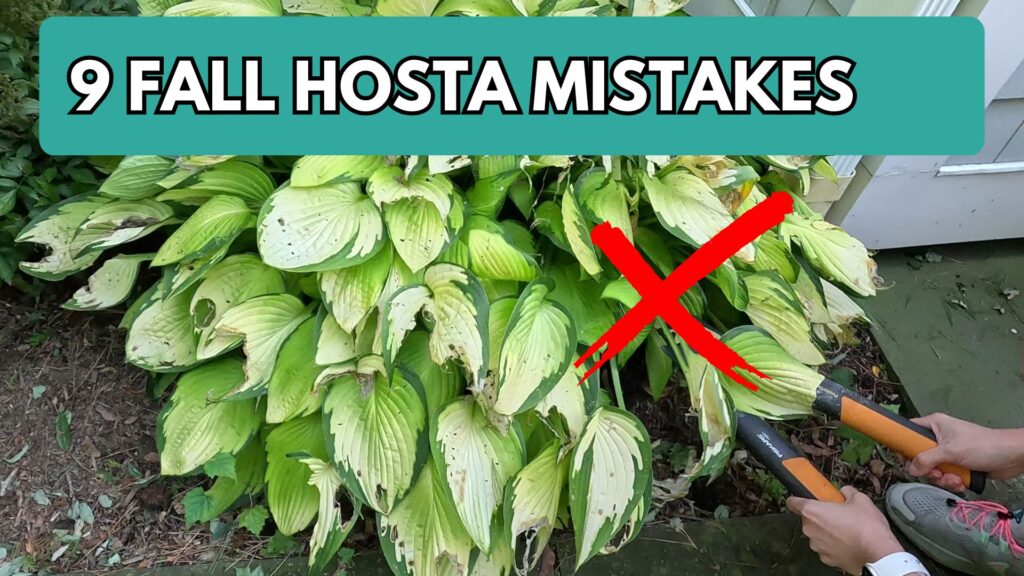
By October, hostas can start looking tired and unruly. The leaves may be full of holes, the edges may be brown, and the whole plant can look as if it is ready to be cut down.
That does not always mean it is time.
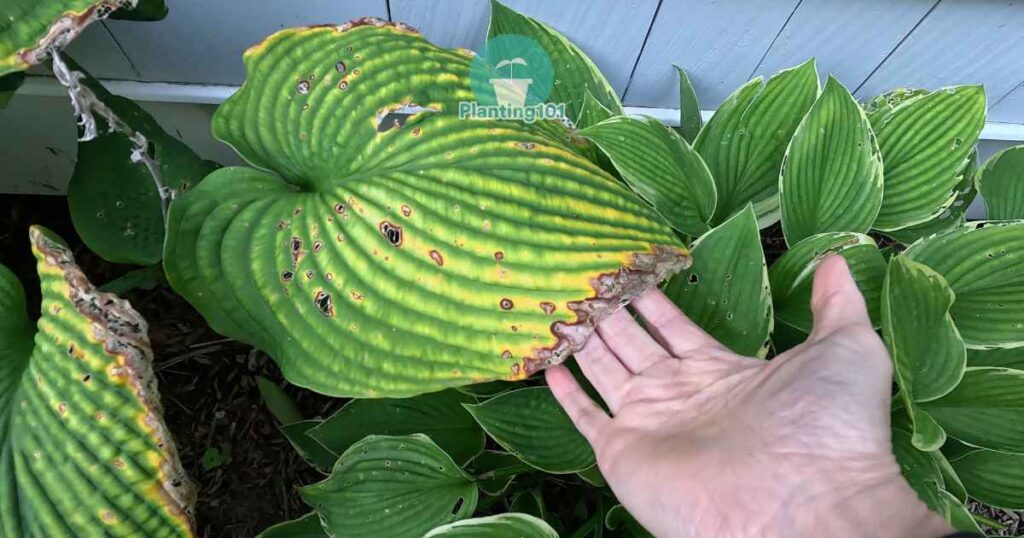
My hostas often look rough by fall, especially after months of damage from slugs and snails. Even so, many of the leaves are still green.
As tempting as it is to grab my pruning shears and clean up the garden bed, cutting green hostas back too early can take away valuable time the plant uses to prepare for winter.
Here are 10 common fall hosta mistakes to avoid, along with the best time and method for cutting them back.
1. Cutting Back Hostas While They Are Still Green
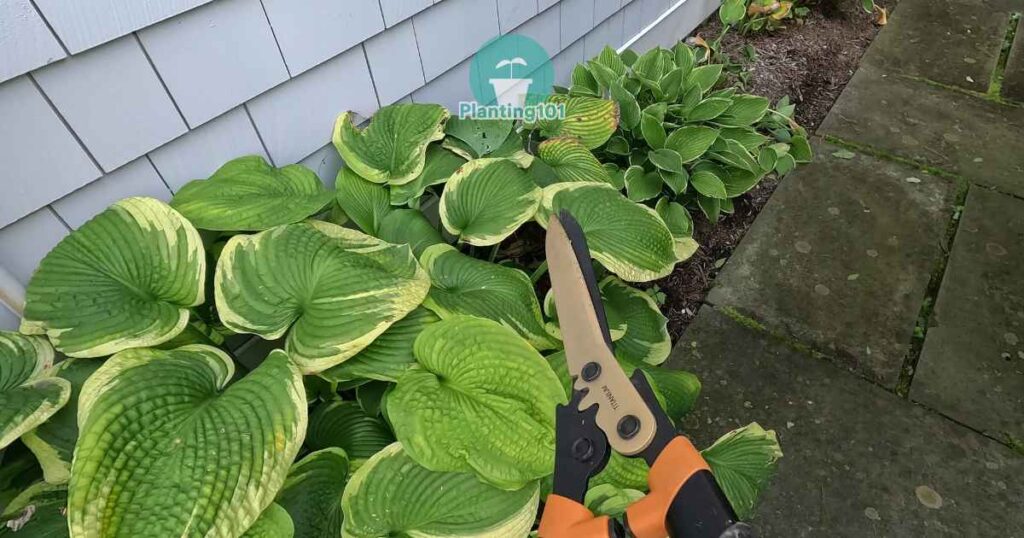
The biggest mistake is cutting down hostas simply because the plants look messy.
As long as most of the foliage is still green, the leaves are absorbing sunlight and producing energy. The plant stores that energy in its roots and crown, where it helps the hosta survive winter and produce new growth the following spring.
Cutting off healthy green foliage too early gives the plant less time to build those energy reserves.
Wait until most of the leaves have turned yellow or brown and started collapsing. This often happens after a frost, but the appearance of the plant is more important than a particular date.
You can remove an individual leaf if it is almost completely destroyed, turning yellow, or lying against wet soil. Leave the remaining green foliage in place so it can continue helping the plant.
2. Following the Calendar Instead of Watching the Plant
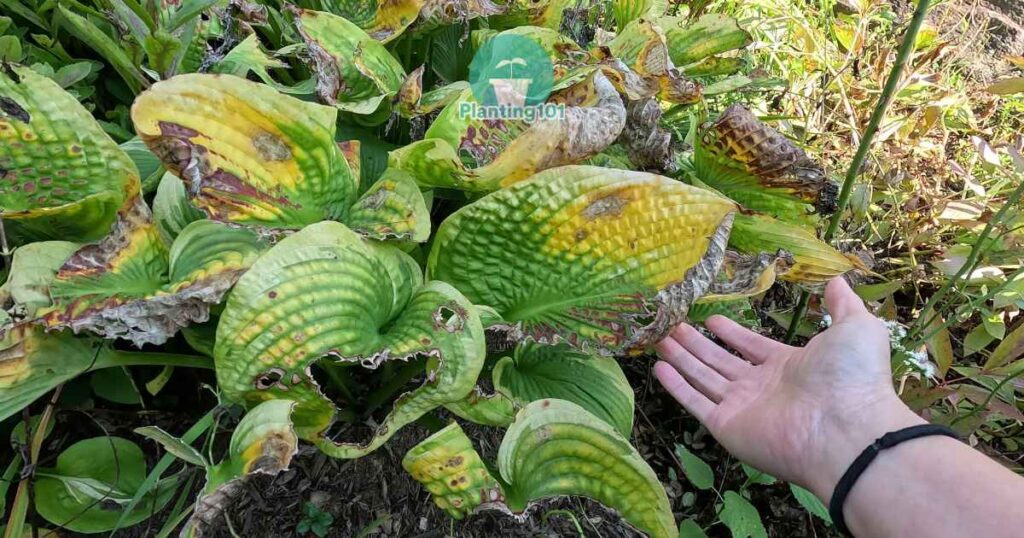
The first day of fall does not automatically mean it is time to cut back your hostas.
In colder climates, hostas may begin dying back in October. In warmer areas, they may remain green until November or even later. Weather patterns can also change the timing from one year to the next.
Hostas growing in different parts of the same garden may go dormant at different times. A plant in a cold, exposed location may turn yellow before one growing in a protected spot near the house. Some varieties naturally enter dormancy earlier than others as well.
There is no need to cut every hosta in the garden on the same day. If one has turned yellow and collapsed while another is still green, clean up the dormant plant and leave the green one alone.
Let each hosta show you when it is ready.
3. Treating Flower Stalks and Leaves the Same
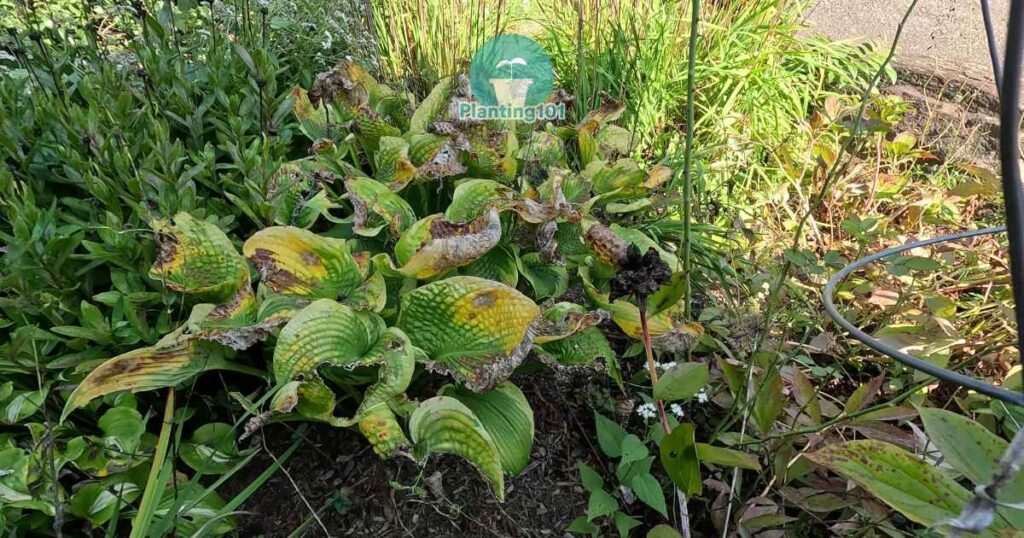
Hosta flower stalks and leaves do not have to be removed at the same time.
Once the flowers have faded, you can cut the spent flower stalks back toward the base of the plant. You do not have to leave unattractive stalks standing until all the foliage dies back.
The green leaves are different. They should remain on the plant while they are still producing energy.
Removing spent flower stalks while leaving the healthy foliage intact is an easy way to make a hosta look neater without cutting down the entire plant too early.
4. Leaving Dead Foliage Around the Plant
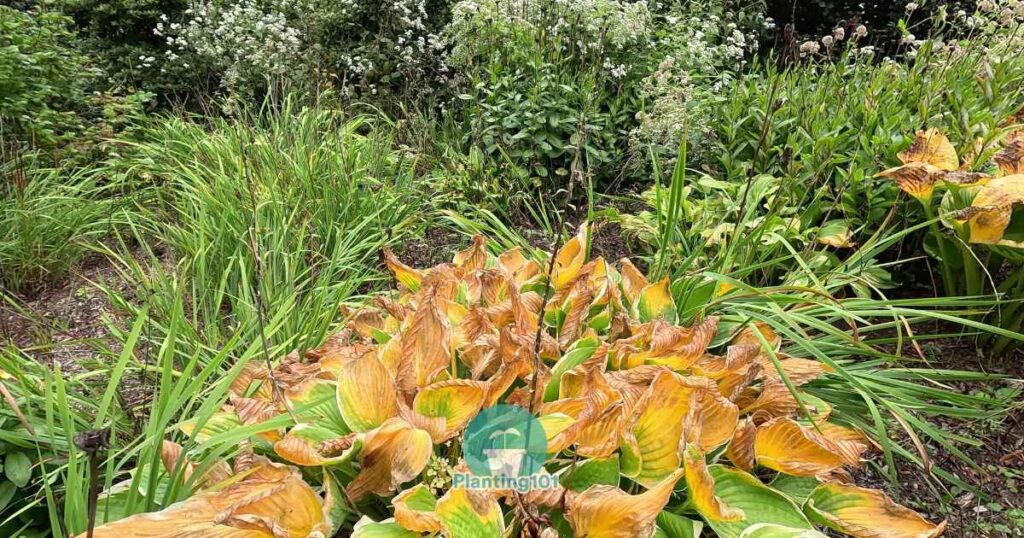
Once the foliage has turned yellow or brown and started collapsing, it is time to clean it up.
You could leave dead hosta foliage until spring, but the wet, decaying leaves can provide hiding places for slugs, snails, and their eggs. Old foliage can also hold moisture around the base of the plant and make it harder to notice potential problems.
Remove the dead hosta leaves along with fallen leaves and other heavy debris around the base. Check underneath the foliage for slugs, snails, or clusters of small, translucent eggs.
Fall cleanup probably will not eliminate every slug. They can remain hidden in soil, mulch, and other damp areas. Removing the collapsed foliage, however, reduces some of the protected places where they can hide and overwinter.
It also leaves the garden looking much neater.
5. Using Dirty or Dull Pruning Tools
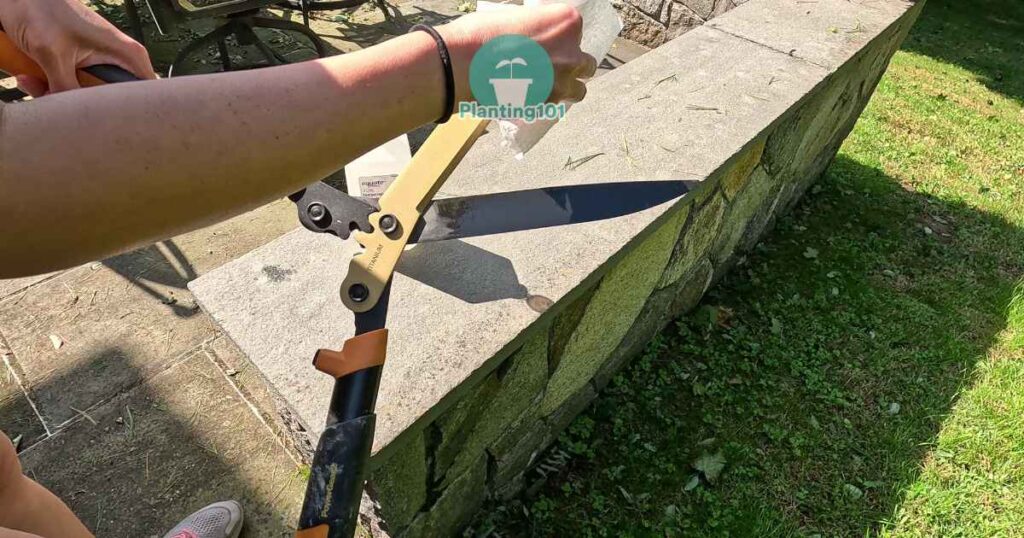
When your hostas are finally ready to be cut back, use clean, sharp pruning shears or garden scissors.
Dirty tools can potentially spread disease from one plant to another. Wipe the blades with rubbing alcohol or a garden tool disinfectant before you begin. If one hosta appears diseased, clean the blades again before using them on the next plant.
The blades should also be sharp. Dull tools can crush and tear stems instead of making a clean cut.
Cleaning and sharpening your tools only takes a few minutes, and it makes the job easier while helping protect the other plants in your garden.
6. Cutting Into the Hosta Crown
Do not cut hosta stems completely flush with the soil.
The crown sits at or just below the soil line. This is where the following year’s shoots will emerge, so you do not want to damage it accidentally.
Gather the collapsed foliage and cut the stems approximately two to three inches above the ground. The cuts do not need to be perfectly even. The short pieces of stem left behind will continue drying out and can be cleaned up later.
Leaves that are completely dead may come away easily when gently pulled. Do not tug hard on stems that remain firmly attached. If you feel resistance, cut the stem with pruning shears instead. Pulling too aggressively could disturb or damage the crown.
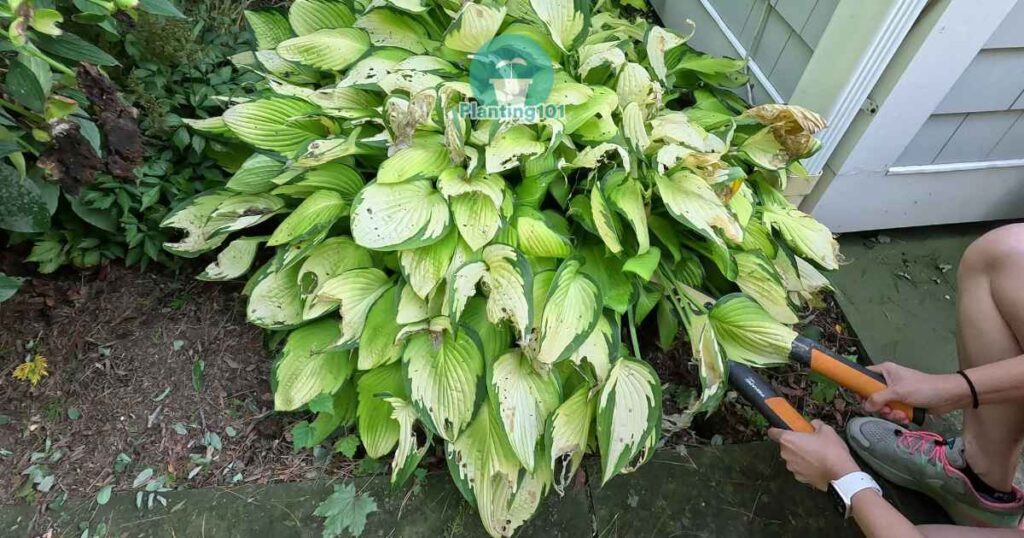
For my video demonstration, I cut back one small hosta with heavily damaged foliage a little earlier than I normally recommend. I left my other green hostas alone. In the garden, it is better to wait until the foliage has naturally yellowed and collapsed before doing a complete cutback.
7. Composting Diseased or Pest Covered Leaves
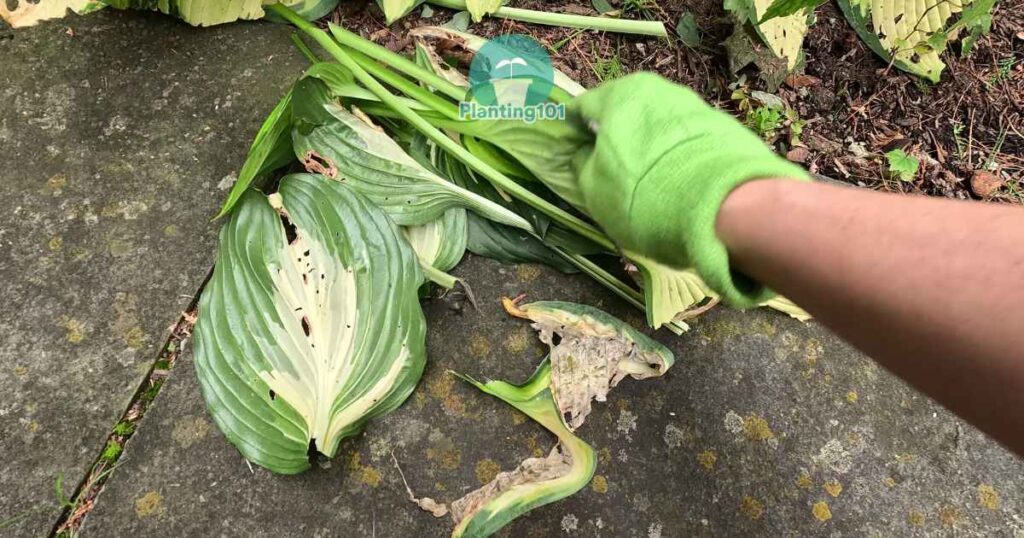
Healthy hosta foliage can usually be added to a compost pile.
If the leaves have suspicious spots, mold, rot, or other signs of disease, it is safer to bag and dispose of them. A typical home compost pile may not get hot enough to destroy every disease causing organism.
The same advice applies if you find large numbers of slug or snail eggs attached to the foliage. You do not want to move a pest problem from your garden bed into your compost.
You can compost leaves that appear healthy and dispose of only the affected material. If you are unsure whether the foliage is diseased, throwing it away is the safer choice.
8. Piling Mulch Directly Over the Crown
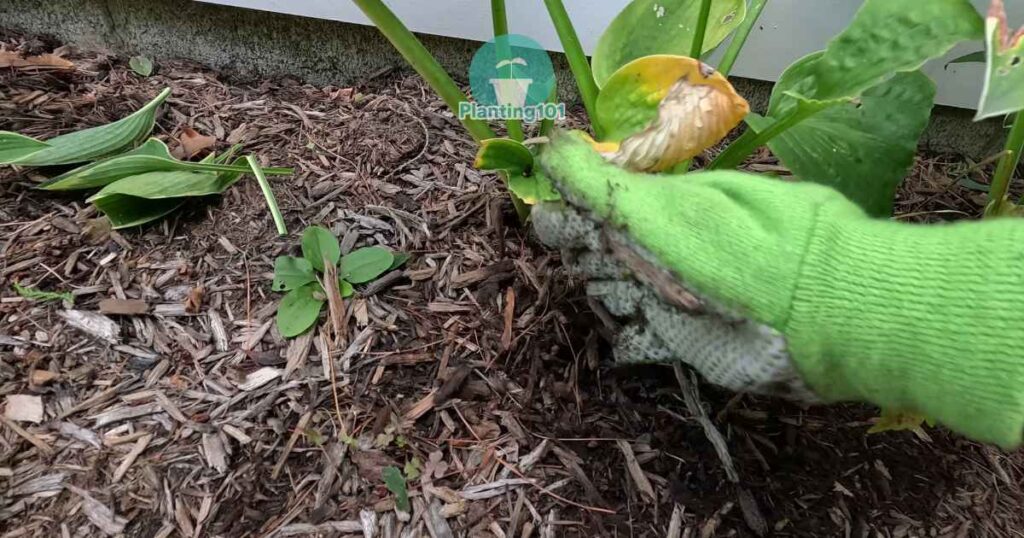
After cutting back your hostas, you can add a light layer of mulch around them.
Approximately two to three inches of shredded leaves, bark mulch, or another organic mulch can help protect the soil from repeated freezing and thawing. Mulch can be particularly helpful for hostas that were recently planted or divided.
Do not pile a heavy mound of wet mulch directly over the crown. Too much moisture sitting against the crown may contribute to rot.
Spread the mulch loosely around the plant and leave a little breathing room over the center. Established hostas are generally very cold hardy and do not need to be buried beneath a thick layer of mulch.
9. Fertilizing Too Late in the Season
Avoid applying a high nitrogen fertilizer to hostas late in the growing season.
Late fertilizer may encourage tender new growth that does not have enough time to harden before cold weather arrives. Once a hosta begins entering dormancy, let it complete that process naturally.
Save regular fertilizing for spring, when new shoots start emerging and the plant begins actively growing again.
You can add a light layer of compost around the plant in fall, but the goal should not be to force new foliage at the end of the season.
10. Stopping Fall Watering Too Soon
Hostas may still need water in fall if their foliage is green and the weather is dry.
Green leaves are a sign that the plant is still active. If there has not been much rain, check the soil and water when it feels dry. This is especially important for hostas that were recently planted or divided because their roots may not be fully established.
The soil should not remain soggy, but the plant should not enter winter severely dehydrated either.
Once the foliage has died back and the ground begins freezing, the hosta’s water needs will decrease significantly.
What Causes Holes in Hosta Leaves?
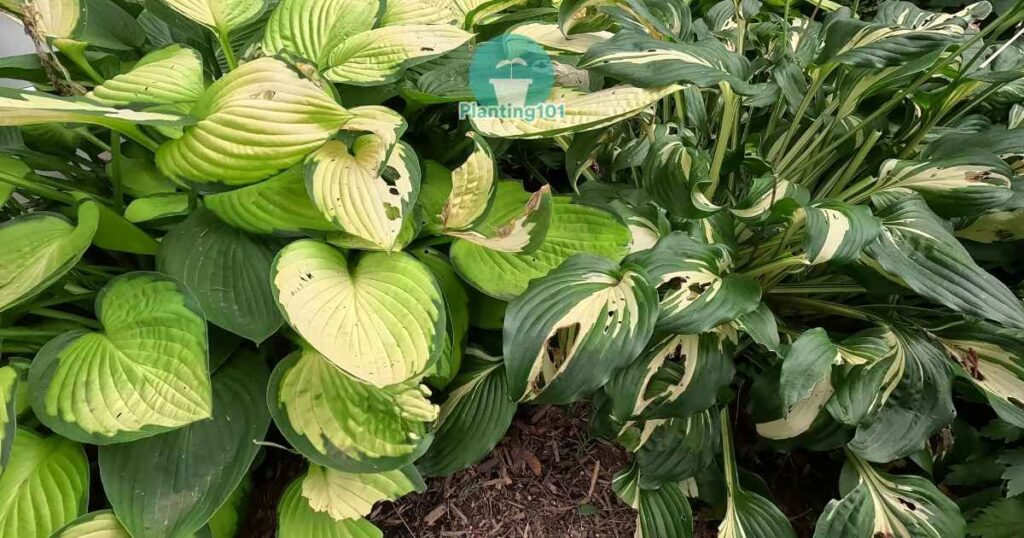
Holes in hosta leaves do not necessarily mean the plant is dying or needs to be cut down.
Irregular holes with ragged edges are often caused by slugs or snails, although caterpillars, earwigs, and other pests can cause similar damage. Shiny slime trails on the foliage or surrounding soil are another clue that slugs or snails are responsible.
These pests prefer cool, damp conditions and often hide during the day. Look underneath leaves, around the base of the plant, beneath mulch, or under nearby garden debris. Going outside after dark with a flashlight is often the easiest way to catch slugs feeding.
Even damaged leaves can continue producing energy if they are still green. Remove an individual leaf if it is almost completely destroyed, yellowing, or resting against wet soil. Do not cut down an otherwise green hosta solely because its leaves have holes.
Cutting off the foliage will not necessarily solve the pest problem. Slugs can remain hidden in the soil, mulch, fallen leaves, and other damp areas before returning when new hosta shoots emerge in spring.
When Should You Cut Back Hostas in Fall?
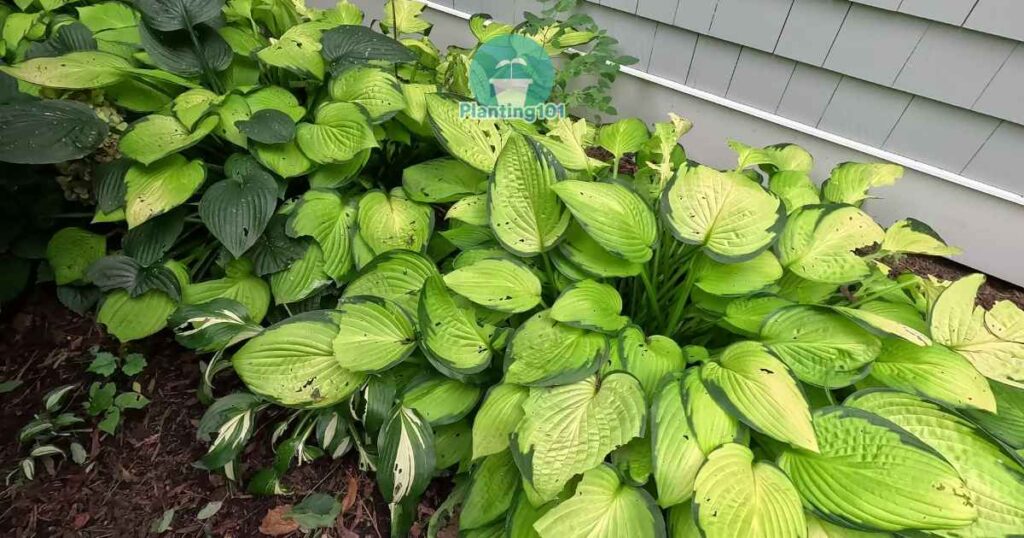
The best time to cut back hostas is after most of the foliage has turned yellow or brown and started collapsing. For many gardeners, this happens after the first frost.
Use clean, sharp tools and cut the stems approximately two to three inches above the ground. Remove the dead foliage and debris, check the area for slugs and their eggs, and dispose of anything that appears diseased.
If your hostas are still green, even if they are full of holes and look untidy, give them more time. Fall hosta cleanup should be based on what the plant is doing, not simply on the date or how messy the leaves look.
Watch the video:
6 Perennials You Should Not Cut Back in the Fall
Fall always makes me want to clean up my garden. Once the flowers start fading…
7 Hydrangea Mistakes That Are Almost Impossible to Fix
Are you wondering why your hydrangea barely has any flowers? It’s a plant that just…
7 Reasons Peonies are the Perfect Plant for Lazy Gardeners
If you are a lazy gardener, you have probably looked at peonies and thought, those…
Hydrangea Care Calendar: What to Do Month by Month Guide for Big Blooms
Why does one hydrangea bloom like crazy while another barely flowers at all? Most of…
8 Easy Perennials for Lazy Gardeners
As a lazy gardener, I want a garden that looks amazing, but easy to maintain….
How to Make Hydrangeas Flower
Are you dreaming of hydrangeas covered in giant, pom-pom blooms? Here’s the good news —…